Well here is the final installment for my DIY Pendant Light Trilogy.
I have taken 3 drinking glasses and drilled holes in the bottom and added the hardware to create a light shade


Now I need something to make it all look pretty and to hang it with. Some kind of mounting plate thing.
Purchase List:
2 1×12″ Boards cut to 12″ each: $11.16
1/4″ Threaded Rod: $0.98
1/4″ Acorn Nut: $0.60
Washer: $0.10
Toggle Bolts: $1.92
To begin, I measured the width of my board and used that to mark my length that I need to cut. While I was at that, I measured and marked what I wanted to cut out of the center, and drilled my holes where I will screw the 2 boards together.

I clamped them together and cut the excess off. I also drilled 4 holes inside of the corners of my center cut out and used a jig saw to to cut out the center.


Smooth it all out and then glue, clamp, screw, fill, and sand.


Prime, sand, paint, sand, paint, and dry. Not it’s time to put it all together. I’ve pulled the wires through the holes that I drilled for them. I chose to tie a knot in the wire to hold it but you could use those fancy staples that are made for that.

To attach the wires all together strip the ends of each wire and twist all the ribbed wires together and all the smooth wires together. screw a wire nut onto the two separate connections and secure the nut with electrical tape. And if you want you can tape anything that is standing up down like I did.


Go ahead and plug it in to make sure that it works.

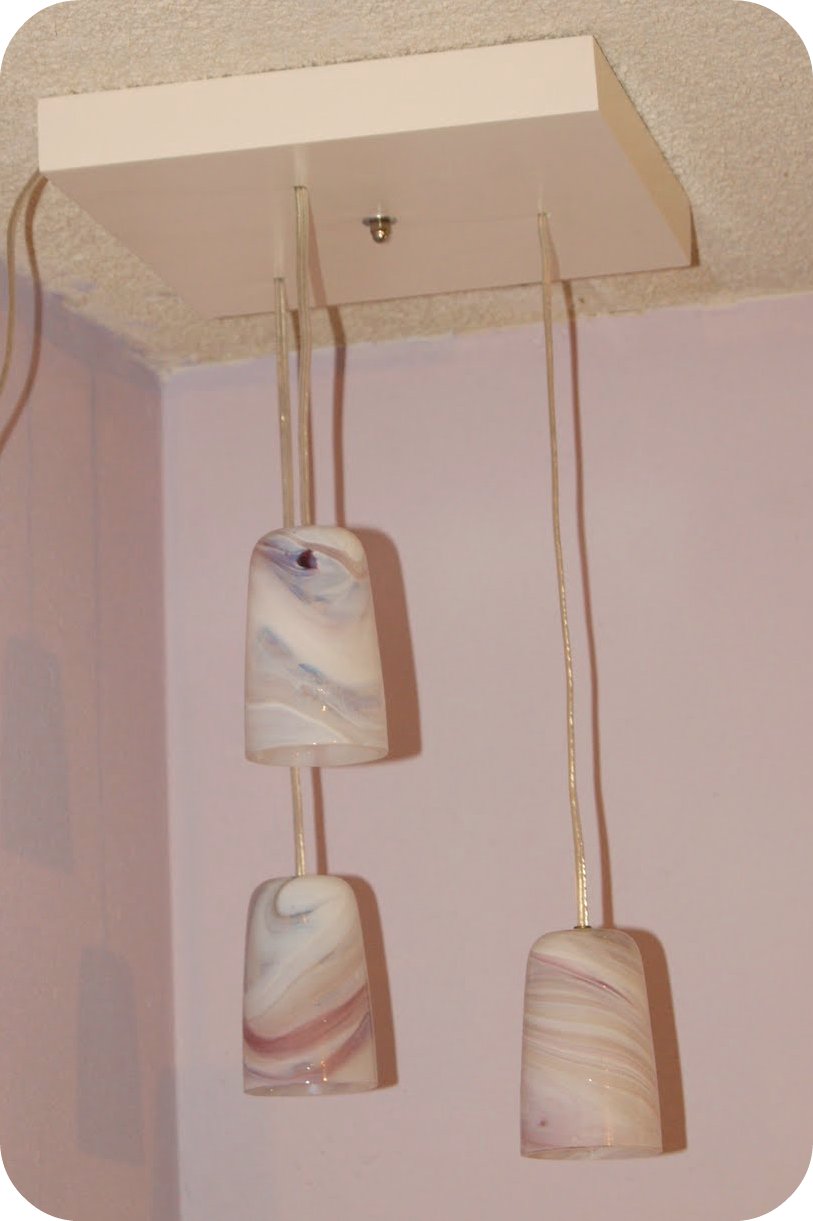
Yay! It works. Now drill a hole in the ceiling big enough to pass your toggle bolt through and slip the threaded rod through the hole in the center. Put the washer and acorn nut on the end and just keep twisting until it tightens up to the ceiling.

Now you’re done. Go have some wine. Smile about your fancy light that you made all by yourself (That’s what I did). Oh and Go Broncos!

OMG – awesome. BTW thanks for hanging at Beckham's party too – Ryan
This looks great! I'm always so scared to mess with electrical wiring. But this looks fun to do! Great job!
Aren't you clever? Using drinking glasses! That's thinking outside the box. 🙂 Sandra